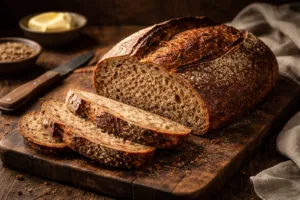
This seed loaf is exactly what it sounds like — a hearty, rustic sourdough bread packed with an abundance of seeds in every single slice. Sunflower seeds, pumpkin seeds, flax, and sesame come together to create a loaf that goes far beyond ordinary sourdough. The result is a nutty, deeply complex flavor with an incredible texture: a chewy, open crumb studded with seeds and a crackling crust that makes this bread truly unforgettable.
What makes this seed loaf stand out is the way those seeds become toasted and fragrant during the bake, adding layer after layer of flavor to the naturally tangy sourdough base. Whether you’re slicing it thick for avocado toast or enjoying it simply with butter, this seed loaf delivers a satisfying, nourishing eating experience that plain sourdough just can’t match. Follow the recipe below for step-by-step instructions on building, shaping, and baking your new favorite bread.
I want to tell you about the day I accidentally dropped my entire proofed loaf on the kitchen floor, scooped it back into the banneton, and somehow ended up baking the best seeded sourdough batard recipe I have ever made in my life. Yes, really. Stay with me here.
It was a Sunday morning. I had been up since 6am, I was on my second cup of coffee, and I was feeling genuinely smug about myself. My dough had proofed overnight in the fridge and it looked absolutely gorgeous. Taut, domed, ready. I was narrating it in my head like a nature documentary. “The batard emerges from cold retard, magnificent and full of promise.” I went to flip it onto my linen couche for scoring and my hand slipped. The whole thing landed on the floor with a sound I can only describe as a wet slap of defeat.
I stared at it for a solid five seconds. Then I picked it up, pressed it back into the banneton, put it back in the fridge, and walked away to have my feelings. What happened next genuinely surprised me, and it taught me something real about sourdough, about seeds, and about not giving up on a bake just because it has had a rough morning.
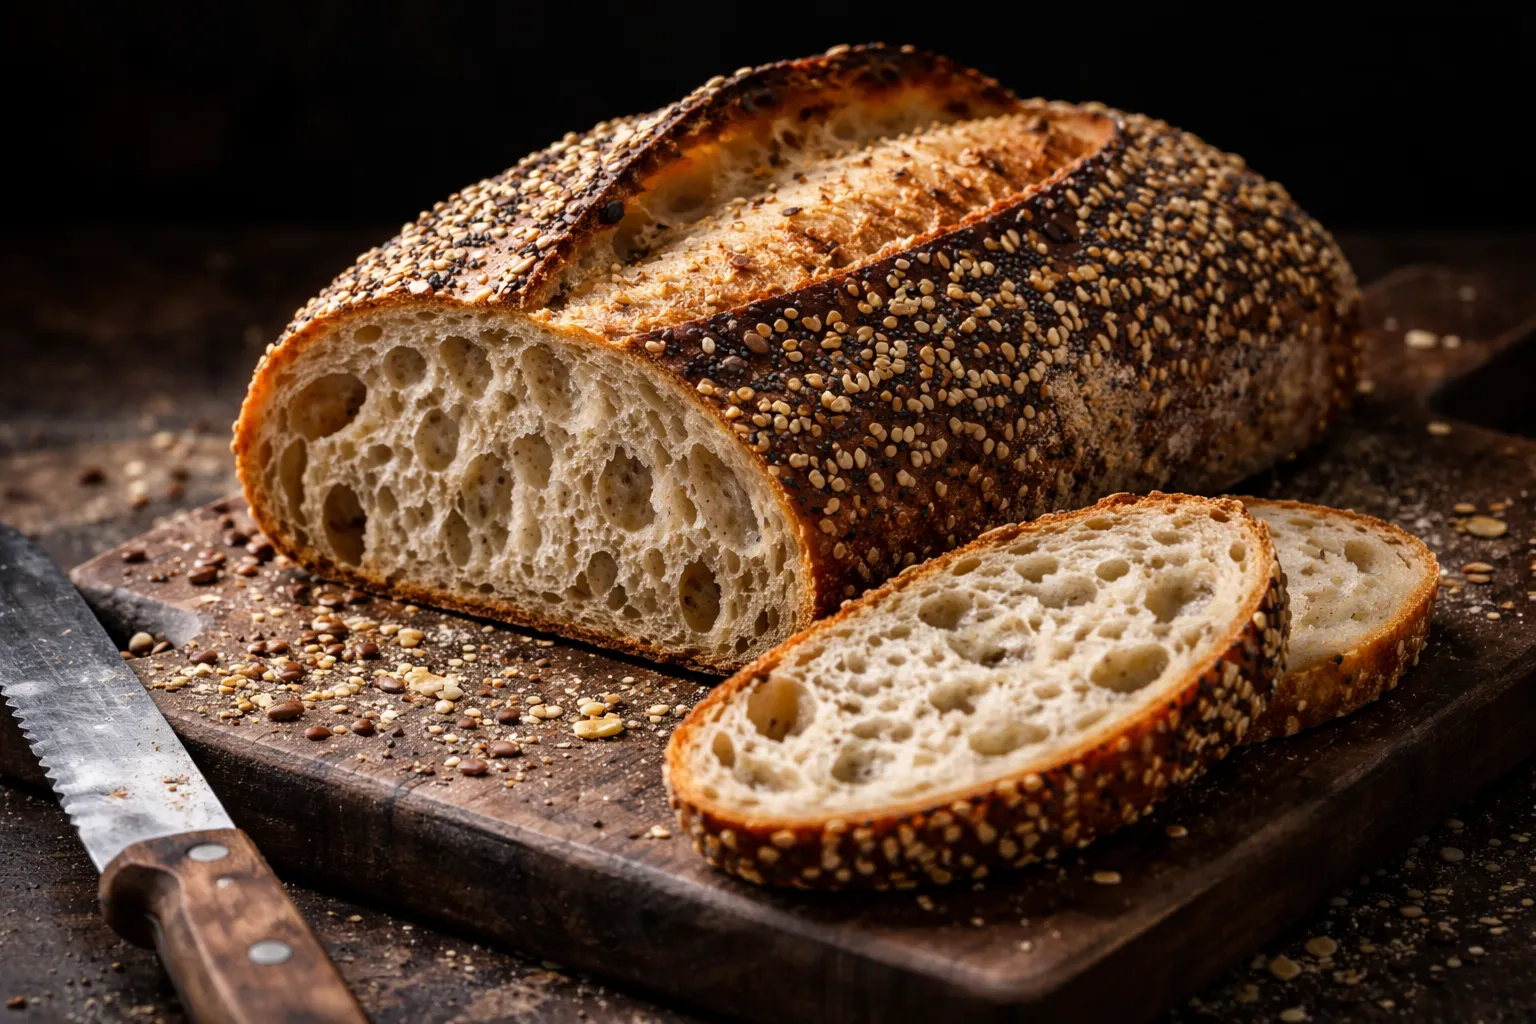
Why a Seeded Batard Is Worth Every Bit of the Effort
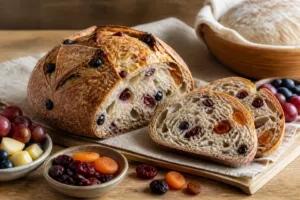
Before I get to the redemption arc, let me tell you why I was so invested in this particular loaf. A batard is an oval-shaped sourdough loaf, shorter than a baguette but more elongated than a boule. The shape gives you an incredible crust-to-crumb ratio, a beautiful single score down the center, and slices that are just the right size for toast. When you coat the outside in seeds before proofing, something magical happens during the bake. The seeds toast against the hot dutch oven, the crust shatters in the best possible way when you bite into it, and the flavor goes somewhere deeper and nuttier than a plain loaf can ever reach.
I had been chasing this loaf for months. Seedy crust, open crumb, that dramatic scoring bloom. This was supposed to be my moment. And then it was on my floor.
What You Will Need for This Seeded Sourdough Batard Recipe
The Seed Mix That Finally Made Seeds Stay Put Instead of Sliding Off
I spent months buying whatever bulk seeds were cheapest, only to watch half of them slide off the dough during shaping or slip away in the steam of the Dutch oven. The real problem wasn’t technique — it was that I was using seeds that were either too small to grip the dough or too inconsistent in size to create an even crust.
What works
- The size distribution is genuinely mixed — sunflower seeds, pumpkin seeds, flax, and sesame all have different weights and shapes, so they nest into the dough instead of rolling off during shape-up.
- These seeds are fresher than anything I’ve sourced locally, which means they actually stick to a wet dough surface rather than sliding around like marbles.
- The flavor complexity is immediate — each seed brings its own nuttiness, so even a simple white dough feels sophisticated without needing extra fermentation time or technique.
What doesn’t
- The cost-per-ounce is higher than bulk bin seeds, so if you’re baking on a tight budget, you’ll feel it after a few loaves.
- Some of the smaller flax seeds still escape during the initial proof if your banneton isn’t lined with enough flour to create friction.
I nearly gave up on seeded sourdough altogether after a particularly ugly loaf where most of the seeds fell into my Dutch oven and burned — but switching to Yupik Organic Super 6 Seeds Mix was the moment that changed everything.
This post contains affiliate links. As an Amazon Associate, I earn from qualifying purchases at no extra cost to you.