It was 6 a.m. on a Tuesday, I had just pulled what I thought was my best loaf ever out of the fridge, and I dropped it on the floor. Flour side down. On the dog’s water bowl. I stood there in my pajamas, staring at a sad, wet, unscored mound of dough slowly absorbing Labrador backwash, and I thought: this is what I get for spending three weeks obsessing over cold proof vs room temperature sourdough like it was a doctoral thesis.
But here is the thing. That disaster loaf? It still baked up beautifully. And the experiment it was part of taught me more about proofing sourdough than anything else I have ever done in my kitchen. So let me back up.
Why I Turned My Kitchen Into a Sourdough Lab
I have been baking sourdough for about four years now, and for most of that time I just did whatever the recipe said without questioning it. Cold proof? Sure. Room temperature proof? Okay, fine. But I kept getting inconsistent results and I could never figure out if it was my shaping, my starter, my oven, or my proofing method. My husband very lovingly suggested I “stop making bread your whole personality,” and I responded by designing a 12-loaf side-by-side experiment. Healthy.
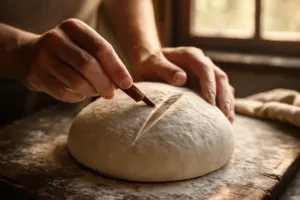
Over three weekends, I baked six pairs of loaves using the same dough recipe, the same starter at the same hydration level, shaped the same way on the same day. The only variable was the final proof: cold (in the fridge at around 38 to 40 degrees Fahrenheit overnight) versus room temperature (on the counter for two to four hours at roughly 72 degrees). I kept notes. I took photos. I made a spreadsheet. My dog kept a respectful distance.
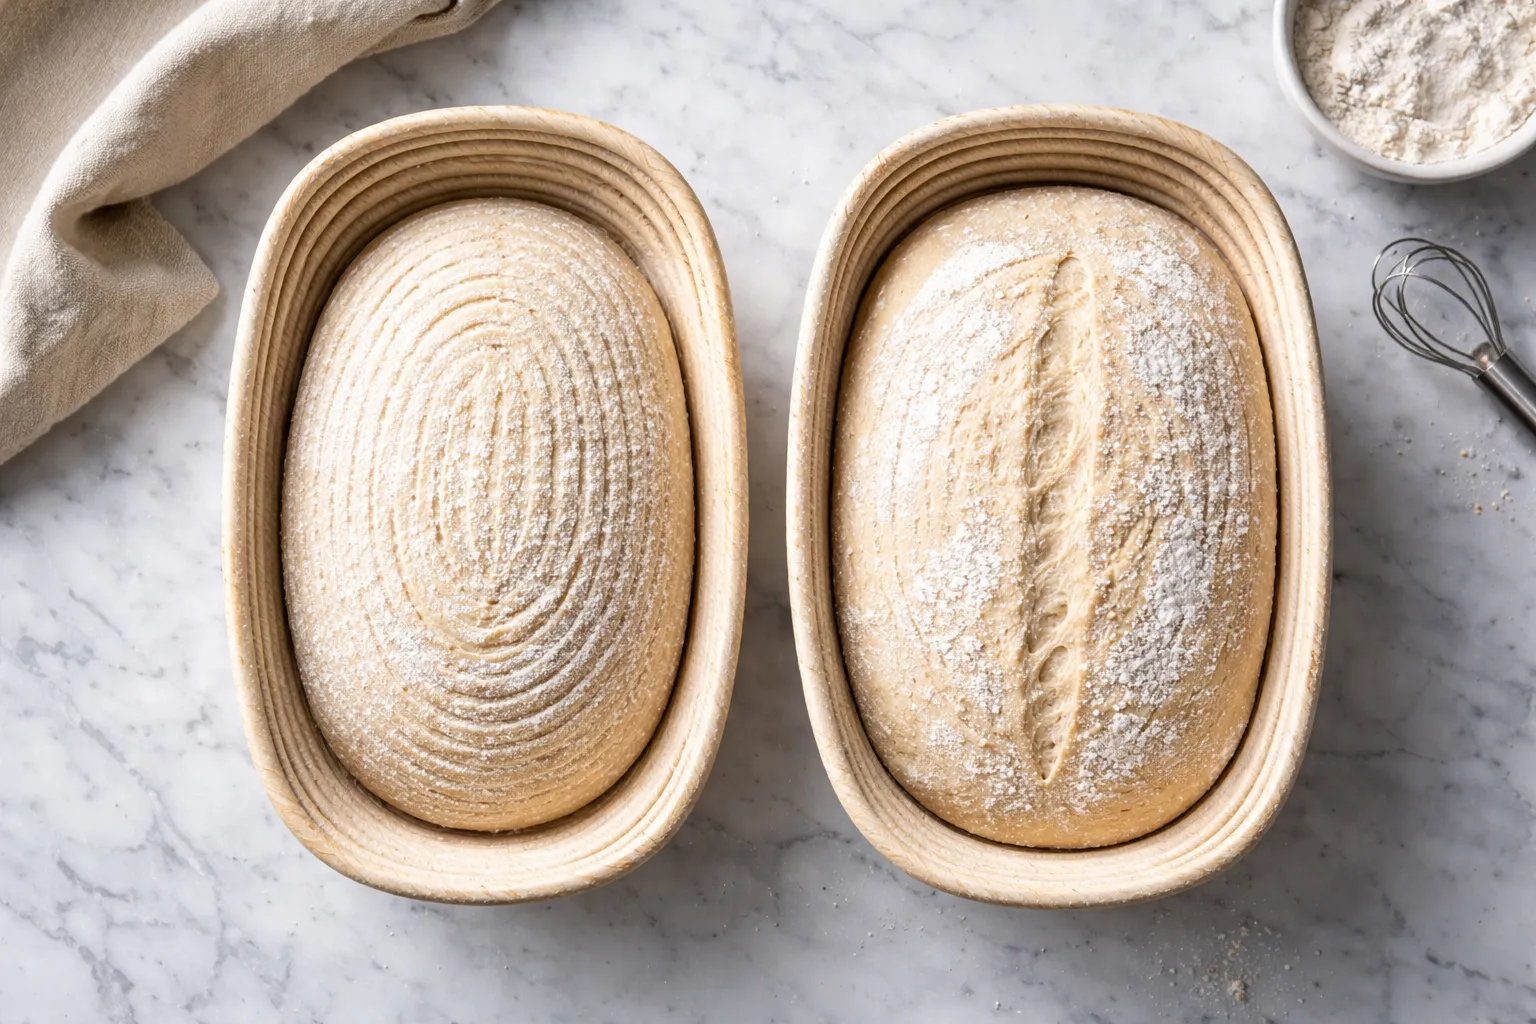
The Banneton That Stopped My Cold-Proofed Loaves From Spreading Flat
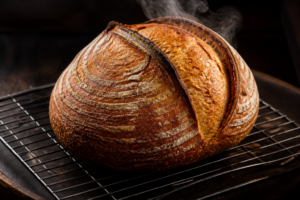
After weeks of comparing cold proofs to room temperature proofs, I realized half my failures weren’t about timing—they were about my ancient, sagging banneton losing all tension on the dough during that long overnight cold proof. A basket that actually supports the dough’s shape during extended proofing makes the difference between a tall, proud loaf and a pancake.
What works
- The linen liner is thick enough that it doesn’t sag under the weight of cold dough—even after 16 hours in the fridge, the boule holds its shape instead of flattening against the basket walls.
- The spiral coil design actually grips the dough, which matters when you’re doing those long, cold proofs where condensation can make everything slippery.
- The included liner peels away cleanly from the cold dough without tearing or sticking, which saves you from the panic moment of wrestling a cold loaf out of the basket right before scoring.
What doesn’t
- It’s noticeably pricier than the budget banneton alternatives, and if you’re only doing room-temperature proofs, you might not see enough difference to justify the cost.
- The liner needs to dry completely between uses, especially if you’re cold proofing frequently—a damp liner can create weird sticky spots that affect how the dough releases.
I almost returned it after the first use because I’d convinced myself a banneton was just a banneton, but that cold-proofed loaf told the real story. If you’re serious about comparing cold proof vs room temperature—or just tired of flat loaves—grab the Saint Germain Bakery Premium Round Bread Banneton Basket with Liner.
This post contains affiliate links. As an Amazon Associate, I earn from qualifying purchases at no extra cost to you.