I pulled the loaf out of the oven, set it on the cooling rack, and felt genuinely proud of myself for about four minutes. Then I sliced into it. The outside was a deep, beautiful brown. The inside was a wet, gummy, almost raw-looking disaster. This was my third attempt at sourdough discard banana bread in two weeks, and I had officially used up every overripe banana in my house, half a bag of flour, and most of my patience.
I know I am not alone in this. Banana bread seems like it should be foolproof. It is one of those recipes people hand to beginners with a reassuring pat on the shoulder. But adding sourdough discard into the mix introduces real variables that most recipes gloss right over, and I paid for that ignorance in burnt edges and sunken middles before I finally figured out what was actually going wrong.
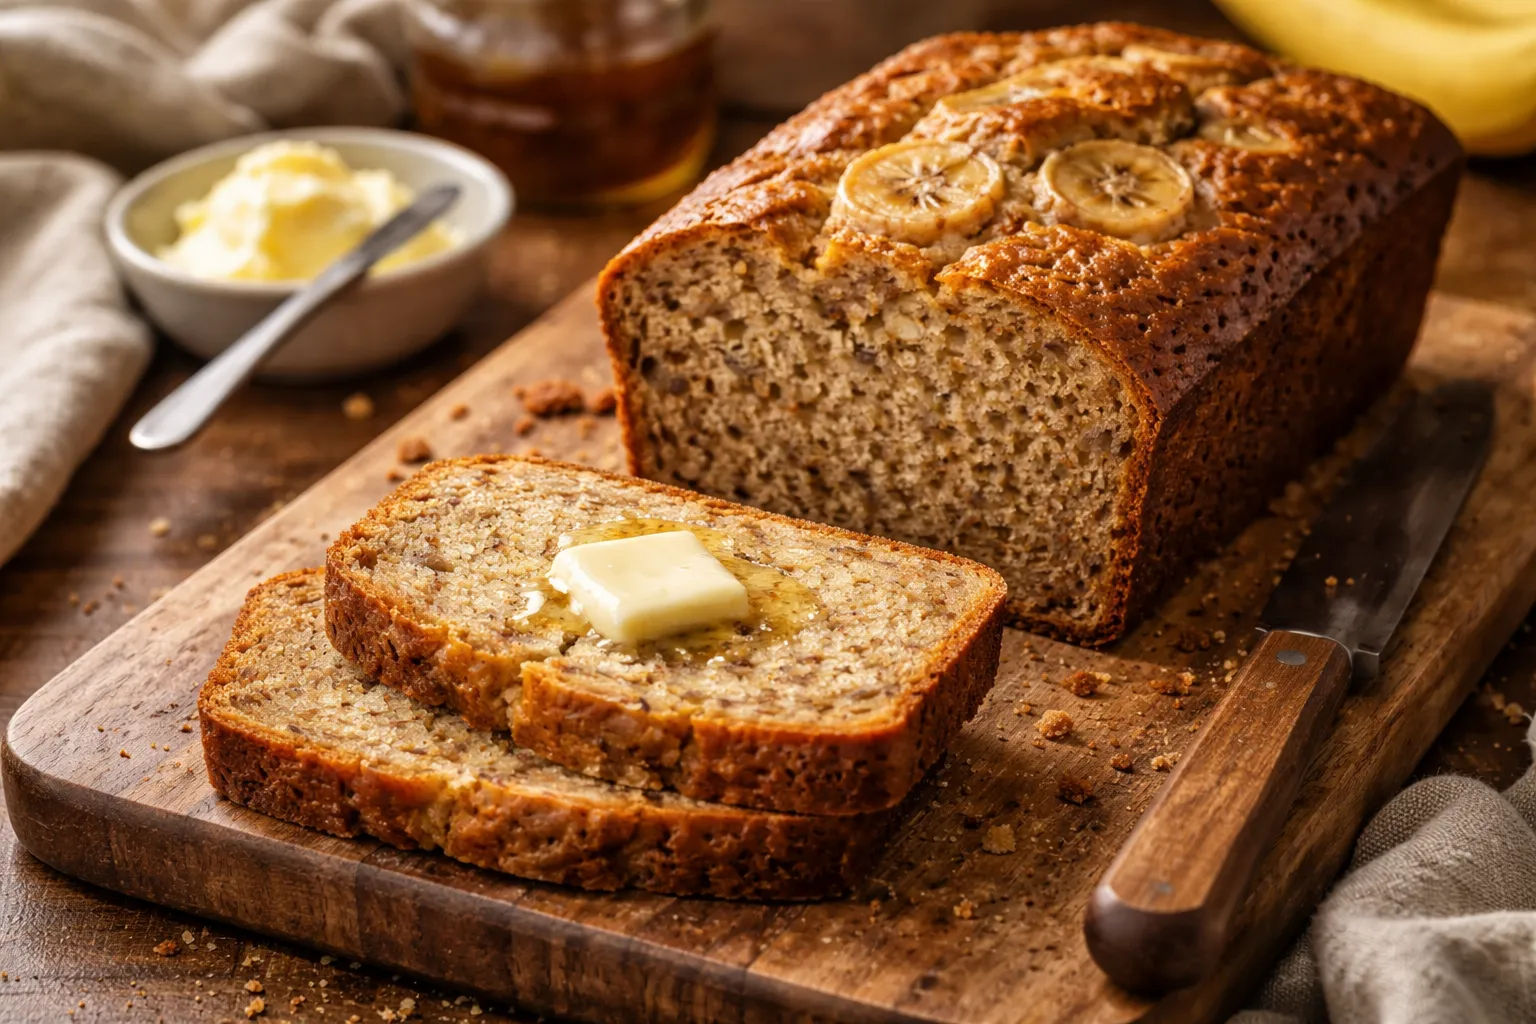
Today I am sharing the version that finally gets the texture right. Not just pretty on the outside. Genuinely moist, tender, and fully baked all the way through, with that subtle tang from the discard that makes you feel like a very clever baker indeed.
Why Sourdough Discard Banana Bread Is Trickier Than It Looks
Here is the thing nobody tells you upfront: sourdough discard adds liquid. It adds acid. And depending on how old and active your discard is, it can also add a little leavening power, or none at all. When you fold it into an already-wet batter full of mashed bananas, you are dealing with significantly more moisture than a standard banana bread recipe accounts for. That moisture has to go somewhere, and if your bake time and temperature are not calibrated for it, it just sits there in the middle of your loaf looking sad and undercooked.
My first two failures both had the same problem: I followed a regular banana bread recipe, swapped in half a cup of discard, and called it done. The flavor was actually lovely. But the texture was dense and gummy in the center every single time. I was so frustrated I nearly just started a compost bucket specifically for failed quick breads.
What saved me was slowing down and actually thinking about what the discard was doing to the batter chemistry. Once I understood the problem, the fix was surprisingly simple.
The Pan That Finally Stopped My Banana Bread From Baking Unevenly
After two failed batches, I realized my problem wasn’t the recipe or the discard ratio—it was that my old darkened loaf pan was creating a moisture trap and baking the edges too fast while the center stayed gummy. Switching to a light-colored nonstick pan with even heat distribution made the difference between a raw middle and a properly set crumb.
What works
- The light platinum nonstick surface doesn’t absorb and hold excess heat, so the sides and bottom brown evenly without racing ahead of the center.
- The edges baked cleanly and pulled away from the pan slightly, making it easy to turn the loaf out without that stuck-to-the-side panic that ruins the presentation.
- I finally got consistent doneness across three batches in a row—no more guessing whether that dark outside meant the inside was actually done.
What doesn’t
- The nonstick coating is tougher than my old pan, but it still requires hand-washing—run it through the dishwasher even once and you’ll notice it lose its slickness.
- At this price point, it’s not dramatically thicker or heavier than cheaper loaf pans, so you’re really paying for the coating quality, not durability in the same league as cast iron.
I almost returned this pan after my second attempt because I was convinced the problem was something else entirely—but I gave it one more batch, and that’s when it clicked. If you’re cycling through recipe tweaks and your banana bread keeps coming out with that wet, undercooked center while the outside burns, try this one. Wilton Platinum Non-Stick 9 x 5 in Loaf Pan
This post contains affiliate links. As an Amazon Associate, I earn from qualifying purchases at no extra cost to you.