Understanding Sourdough Scoring Fundamentals
Scoring sourdough bread transforms simple loaves into stunning artworks. The practice involves making deliberate cuts in the dough’s surface before baking. These cuts serve both functional and aesthetic purposes. Moreover, they control how the bread expands during baking, creating distinctive patterns that showcase your skill.
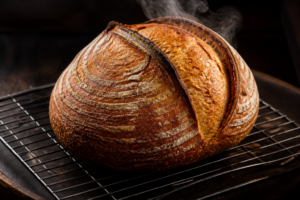
The cuts you make guide the bread’s expansion in the oven. Source Without proper scoring, your loaf might burst unpredictably at weak points. However, strategic cuts direct the oven spring exactly where you want it. This technique creates the signature “ear” that many bakers prize.
When you score sourdough, you’re essentially telling the dough: “expand here, and nowhere else.” During those critical first minutes in the oven, your loaf experiences rapid oven spring—the explosive rise caused by steam and yeast activity. Without intentional scoring, the crust sets unevenly, forcing the dough to rupture at its weakest points rather than where you’ve designed. Proper scoring prevents blowouts and waste, while creating those beautiful, controlled openings that define professional-looking artisan bread.
Why Scoring Technique Matters More Than You Think
Many home bakers underestimate how much their tools and technique affect the final loaf. I spent years making shallow, ragged scores because I was using whatever sharp knife I had on hand—sometimes the bread knife, sometimes a utility blade held between shaky fingers. The results were inconsistent: some loaves opened beautifully, others tore apart or barely opened at all. I couldn’t figure out what I was doing wrong until I realized the problem wasn’t my dough—it was my execution.
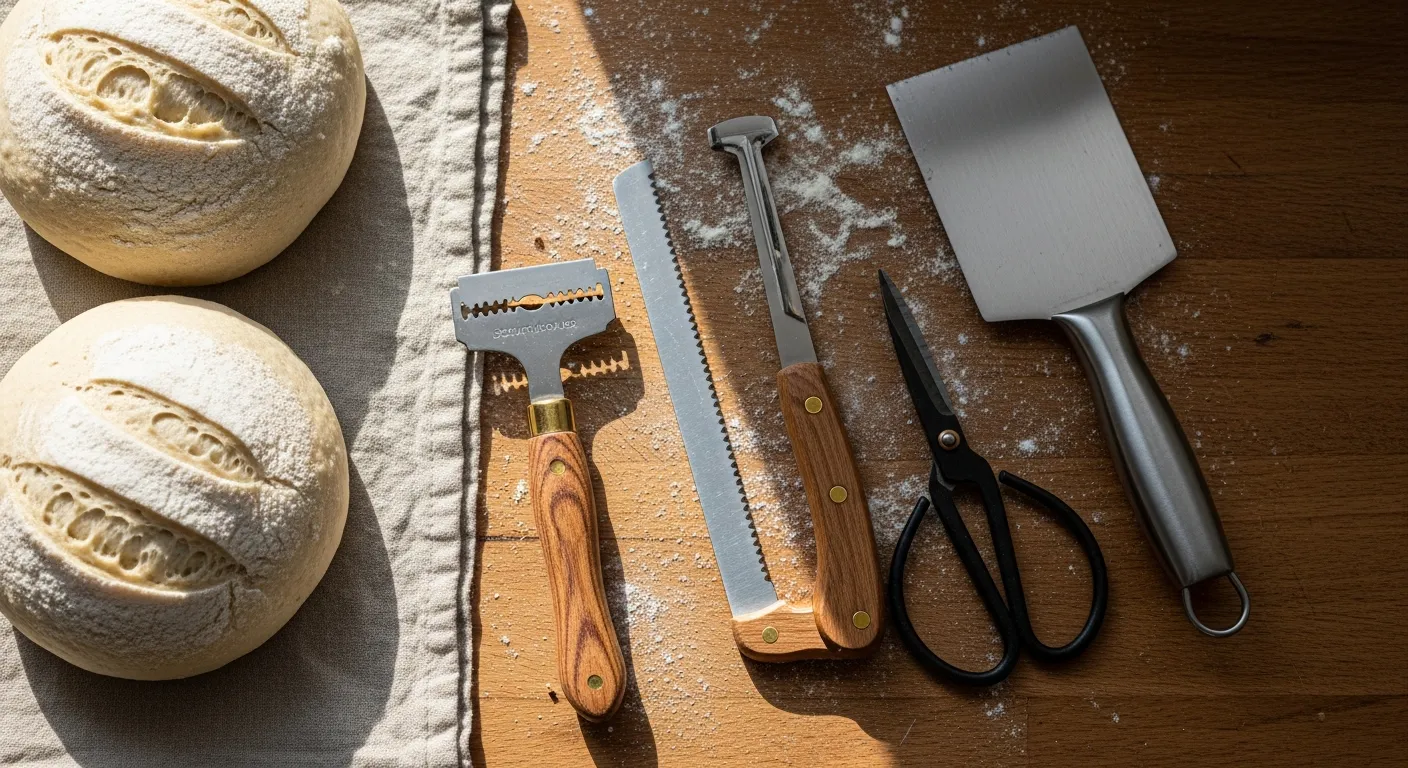
Scoring requires three key elements working together. First, you need the correct angle—typically 30 to 45 degrees, depending on the pattern you’re attempting. Second, you need a truly sharp blade that cuts through the dough cleanly without dragging or catching. Third, you need a tool that doesn’t obscure your view of the dough surface while you’re working. Without all three, even perfect dough becomes an exercise in frustration.
The Lame That Finally Gave Me Control Over My Score
A dull knife or shaky hand turn scoring into a guessing game—your cuts go shallow, the blade drags, and your beautiful pattern collapses into a sad slash across the loaf. A proper lame gives you the angle, confidence, and clean edge you need to actually execute the pattern you’re imagining.
What works
- The folding design lets you score at a true 45-degree angle without fumbling to hold the blade—your cuts go exactly where you intend them, not wherever the blade naturally drags.
- The razor blade stays sharp enough through multiple loaves that you get clean openings instead of the ragged tears that happen when you’re pushing a dull blade through cold dough.
- The handle is small and precise enough that you can actually see the dough surface while you’re scoring, so you’re not scoring blind or second-guessing your line halfway through.
What doesn’t
- Replacing the blade is a bit fiddly the first time—the mechanism is sturdy, but there’s a learning curve if you’ve never folded a lame before.
- If you’re scoring directly from the fridge without letting dough warm even 5 minutes, the blade can still catch and tear slightly on really cold, brittle skin.
I almost returned mine after my first score went sideways—literally, the blade was at the wrong angle and I nearly tore a flap off—but once I got the feel for holding it, my scores became consistent for the first time. If you’re tired of ragged, unpredictable results, grab a folding bread lame.
Practical Scoring Technique: Step by Step
Having the right lame is only half the battle. How you use it determines whether your scores open beautifully or disappoint. Here’s my process that finally delivered consistent results:
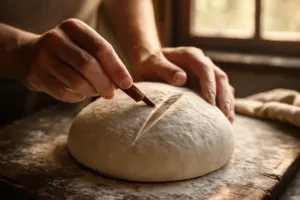
Prepare your dough properly. Score your loaf right after removing it from the fridge or proofing basket. The surface should be cool but not frozen solid—if your dough is too cold, the skin becomes brittle and tears instead of opening. Let it sit on the baking surface for 5 to 10 minutes if it came straight from a very cold fridge. If you’re using a room-temperature proof, score just before placing the loaf in your preheated Dutch oven or on your baking stone.
Hold the lame at the correct angle. The 45-degree angle creates the best expansion and that coveted ear formation. Position the blade so it meets the dough at that angle from the start—don’t try to adjust mid-cut. A folding lame naturally encourages this angle, which is why it eliminates so much guesswork.
Cut decisively, not tentatively. Hesitation creates shallow scores that don’t open properly. You want to cut about 1/4 to 1/2 inch deep depending on your loaf size. Move your hand smoothly in one motion, applying consistent pressure. It’s better to score once cleanly than to make multiple shallow passes that damage the dough without creating a proper opening.
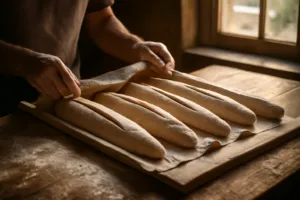
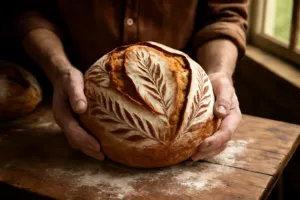
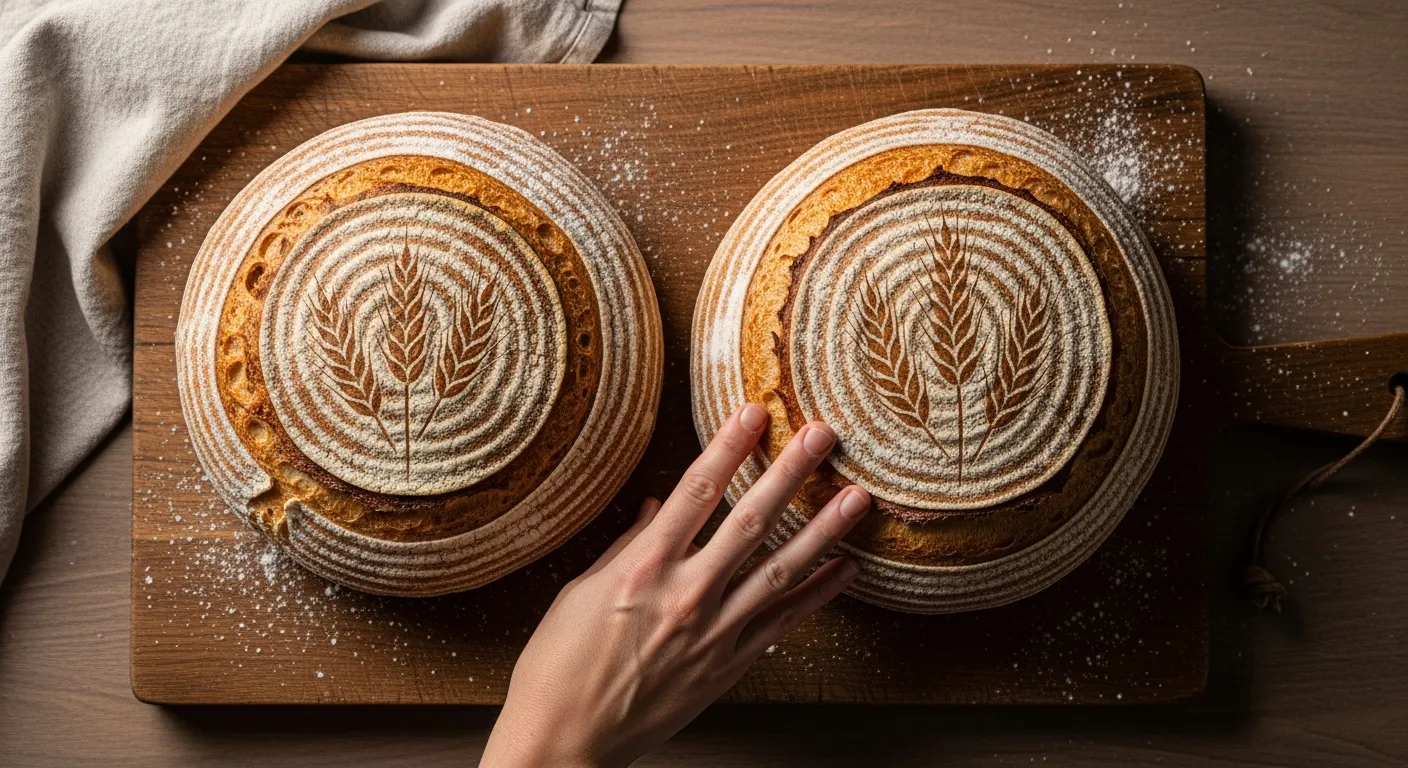
Know your patterns. A simple single slash down the center is the easiest pattern to execute and reliably creates an ear. Crosshatch and wheat stalk patterns require more precision but look stunning when executed well. Practice one pattern until you can do it consistently before moving to something more complex.
Common Scoring Mistakes and How to Avoid Them
Even with the right tool, certain habits sabotage your results. After scoring dozens of loaves, I’ve made most of these mistakes at least once. Learning to recognize and avoid them accelerated my improvement dramatically.
Scoring dough that’s too warm. If your dough has been proofing at room temperature or has risen too much, the surface becomes elastic and doesn’t hold a sharp score. The blade pushes through but the dough springs back, closing the cut before it bakes. This is why cold dough (from the fridge) is actually easier to score cleanly than room-temperature dough.
Using the wrong blade angle. Many home bakers try to score at 90 degrees (straight down) or at very shallow angles. This creates narrow slits instead of the wide openings that showcase oven spring. The 45-degree angle, which the folding lame encourages, is the sweet spot that balances control with dramatic opening.
Over-scoring or under-scoring. Cutting too deep can weaken the dough structure and cause blowouts in unpredictable places. Cutting too shallow means your score doesn’t open, and the bread ruptures elsewhere. Find the middle ground: deep enough to guide expansion, but not so deep that you compromise the loaf’s integrity.
Conclusion: Invest in Your Scoring Game
Sourdough scoring is one of those skills that looks simple but requires proper tools and technique to master. For years, I thought beautiful scores were a sign of advanced skill—something reserved for bakeries and experienced bakers. What I didn’t realize was that I was handicapping myself by using inadequate tools. A good lame removes friction from the learning process. It lets you focus on dough preparation and timing instead of fighting with a blade that won’t hold an angle.
If you’re serious about improving your sourdough, a folding bread lame is one of the best investments you can make. It’s not expensive, it lasts for years with proper care, and it will transform your scoring consistency almost immediately. Combined with the right technique and a bit of practice, you’ll be producing loaves with beautiful, controlled scores that open perfectly every time.
This post contains affiliate links. As an Amazon Associate, I earn from qualifying purchases at no extra cost to you.